Pins are the heart of your Pinterest marketing. With them, you deliver your information and offers directly to your target audience. But for this to work effectively, it’s not only about the design of your Pin — it’s also about how you set it up.
A perfect Pin is created in a way that allows the Pinterest algorithm to read, understand, and match it to the right audience as accurately as possible. An optimized Pin is therefore crucial to your marketing success on the platform. In this article, we’ll look at how to upload Pins and what to consider to ensure they are perfectly optimized.
What is a Pinterest Pin?
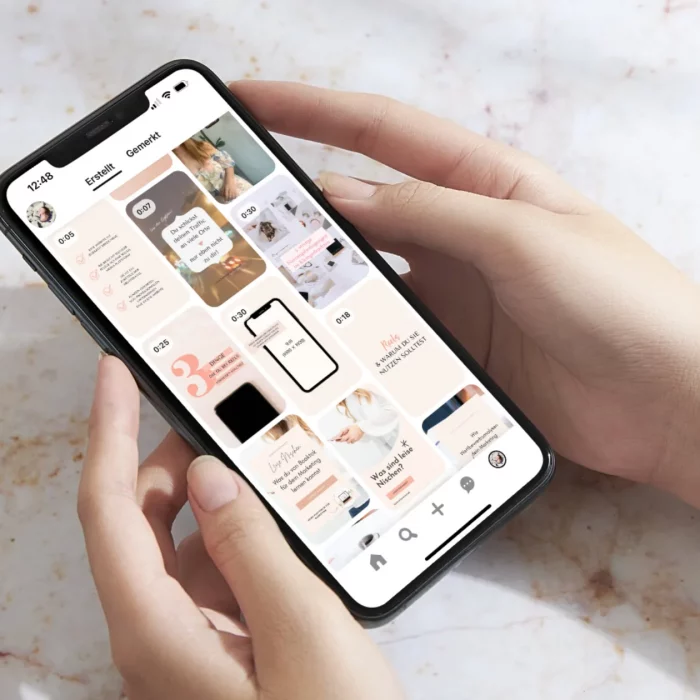
Think of a Pin as a digital sticky note. Your audience can find useful information on it — this could be a video tutorial, infographic, or a promotion for your online course.
A Pin consists of an image, graphic, or video, a title, a description, and a URL. And the best part: all these components can be optimized for the Pinterest algorithm with just a few simple steps.
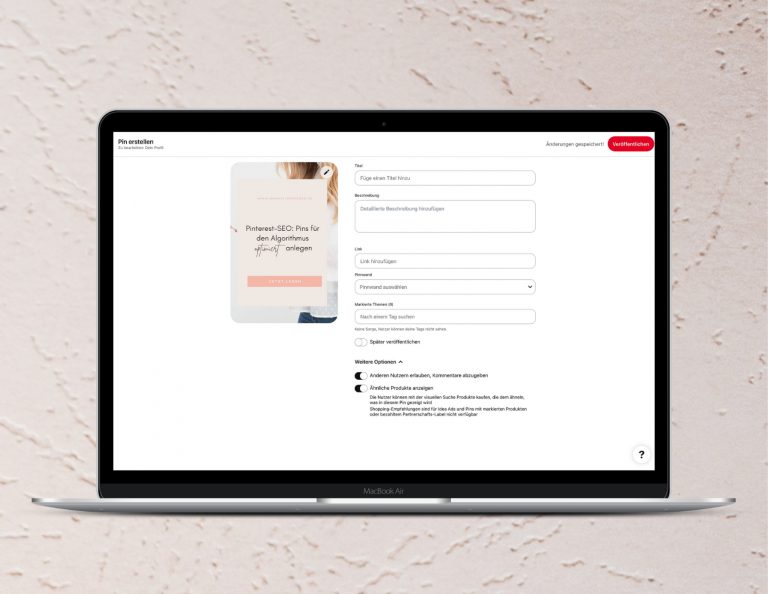
How to publish a Pin on Pinterest
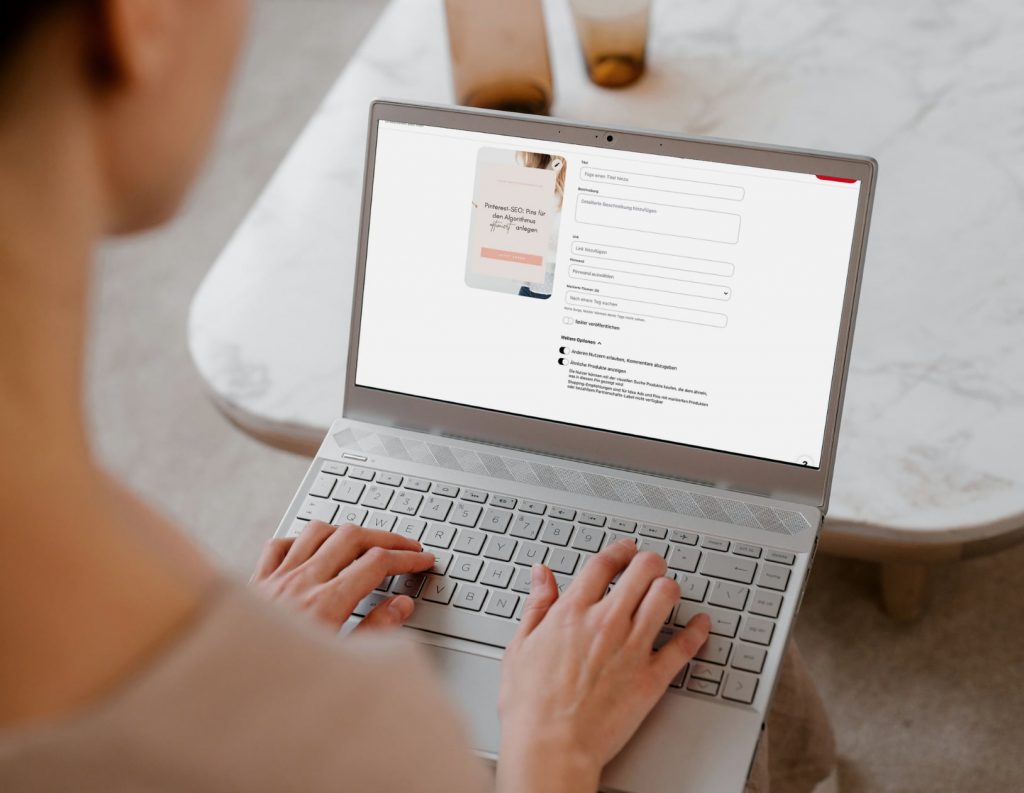
To upload a Pin on Pinterest, click on> “Create” > “Create Pin” in the navigation bar at the top of the desktop interface. Or, if you’re on your board, profile, or using the mobile app, click the “+” icon. A new window will open where you can upload your Pin and add your title and description.
Metadata matters
The first step to creating optimal Pins is to check your graphic’s metadata — since Pinterest reads this data. Metadata (title, description, and source) provides important information such as who created the image, what is depicted, and the topic. If you create your images using software like Photoshop, you can manually adjust the meta title and description before exporting. If you use Canva, this is not possible.
Additionally, always remember to rename your file and include relevant keywords. The filename should describe the topic and content of your Pin.
Instead of “Image 3455.jpg,” your file could be named:
“marketingminded_blogpost_pinterest-seo_optimize-pins_Pinterest-graphic.jpg”
Writing the perfect Pin title
Always give your Pins a short and compelling title that makes viewers curious to learn more. Avoid simply repeating the text from your graphic and instead work with relevant keywords and search terms. You can also use words like “best,” “affordable,” “discount,” or “tips” in your Pin title.
Often, your blog article titles work well here, so you don’t need to come up with something completely new and can repurpose existing content.
Your Pin title can be up to 200 characters including spaces. Place the most important keywords at the beginning, as the text is truncated after about 40 characters.
The Pin description: space for more
Your Pin description should provide more information about the topic. The main goal of your description is to highlight the topics behind the Pin — meaning on the page you’re linking to. Use full sentences in your description and absolutely avoid keyword stuffing. Also, avoid using hashtags, as they are not clickable in the description and do not provide any added value for searchers. Remember: the algorithm learns from the overall context of your Pin to identify relevant topics — not from a random collection of words.
It’s also worthwhile to include a call to action (CTA) in the description to encourage users to take action. For example: Learn more now, Get details here, Sign up for the newsletter, Watch the expert interview, etc.
You have a total of 500 characters (including spaces) available for your Pin description.
The target page is the goal
You’ve learned that the algorithm reads the content of your Pin and uses it to determine which topic area and interests your Pin fits. It gathers this information from the metadata, the graphic itself, the title and description you provide, and also from the URL you attach to your Pin.
For a long time, it was common to place your own URL behind every Pin you uploaded or saved from other sites to gain more traffic. This behavior is now penalized by the algorithm. The Pinterest algorithm reads your target page and checks whether it matches the topic of the Pin.
Always make sure that there is a strong thematic connection. This is why you should also avoid always linking your Pins to your homepage.
Pinterest loves fresh content. The newer and more up-to-date the page you link to with your Pin, the better your Pins will perform. Pinterest also loves specific content. It’s therefore worthwhile, especially with long target pages, to use so-called anchor links to direct your Pins to the exact sections of your blog articles that specifically address the text on your Pin. This means that your target page should not only have a general thematic connection but also specifically address the topic of your Pin.
Board & Pin: A match made in heaven
Next, you can choose which board you want to publish your Pin to. There should also be a clear thematic connection between the board and the Pin. You can also publish your Pin on different boards — if it makes thematic sense. In this case, you should first save your Pin to the board where there is the strongest match. Then wait 1–2 weeks before posting the Pin to another board that fits but isn’t quite as strong as the first.
You should not save the same Pin to more than three boards.
Tagged topics for your Pins
The Pinterest algorithm analyzes users by interests and groups them into categories or tags that you can select when creating your Pins. This works similarly to the interest filters you use when running ads. This means that when you use tags, you help Pinterest understand which content is on your Pins and which interest groups your Pins are relevant to. You can enter your own keywords or use the tags suggested by Pinterest. I recommend using the suggested tags — but only if they make sense for you, your topic, and your target audience.
Publish later, allow comments, and go
Finally, you can choose whether to publish your Pin now or later. Unlike other platforms, you can schedule your Pins on Pinterest without being penalized.Pinterest allows you to schedule up to 20 Pins via the desktop version. Under more options, you can also decide whether your Pin can be commented on or not. This function is activated by default. You can also decide whether the visual search feature should be enabled on your Pin so that users can explore the products in your Pin via visual search. This is especially useful if you post lifestyle or interior design Pins. For example, if you wear a jacket in a photo that a user likes, they can use visual search to find similar products. However, if you want to sell products through your Pins yourself, I recommend disabling this feature.